
How to Repair Cracks in Building: A Step-by-Step Guide
This blog post outlines a step-by-step guide to repairing cracks in a building’s parapet wall, based on a case study by Civil Chemicals. The post identifies common causes of cracks and details the materials and methods used to address them.
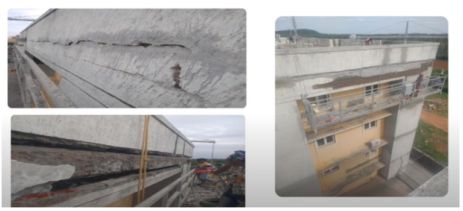
Common Causes of Cracks in Parapet Walls

The case study identifies several causes of cracks in parapet walls:
- Excess plastering thickness: Applying too much plaster in one go instead of doing it in layers can cause the plaster to crack.
- Hollowness in certain portions: This can occur due to improper packing of cement mortarbefore plastering work.
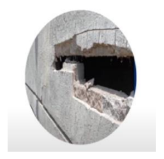
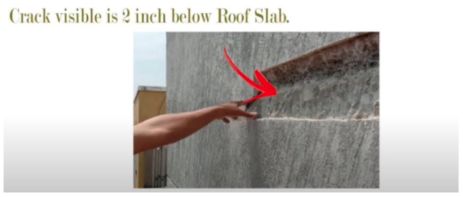
- Cracks at the roof level propagating to the parapet wall: Cracks in the roof can transfer stress to the parapet wall, causing it to crack.
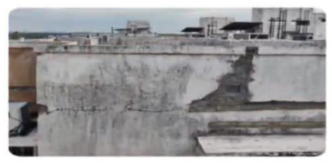
- Improper anchoring at parapet wall junctions: If the junctions are not properly anchored, they are more likely to crack.
Materials Needed for Parapet Wall Crack Repair
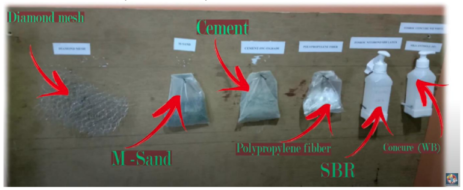
- Repair mortar (click here to buy)
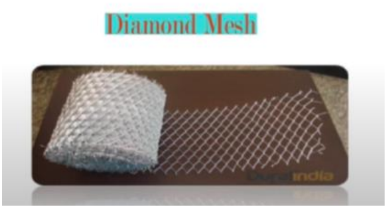
- Diamond mesh (for requirement contact support@civilchemicals.com)
- Bonding agent (SBR latex) (click here to buy)
- Cement
- Polypropylene fiber (click here to buy)

- Curing compound (click here to buy)
- Wire brush (for requirement contact support@civilchemicals.com)
- Water jet (for requirement contact support@civilchemicals.com)
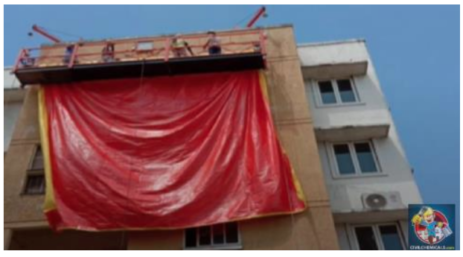
- Suspended rope platform with debris sheets (for requirement contact support@civilchemicals.com)
Step-by-Step Guide to Parapet Wall Crack Repair
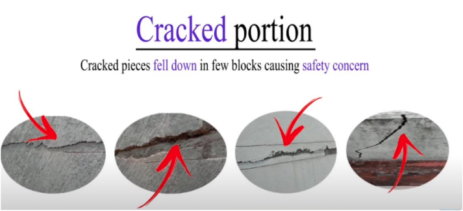
1. Marking and Removing Cracked Portions:
- Identify cracks wider than 2 millimeters and mark them for repair.
- Remove loose and cracked plaster until you reach a sound portion of the wall.
- Pay attention to the thickness of the removed area; it should be at least 40
millimeters.
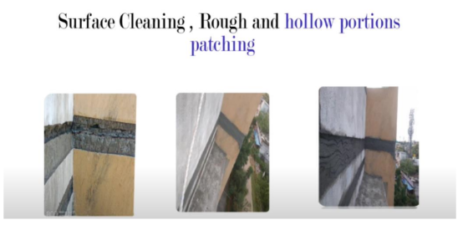
2. Cleaning and Preparing the Surface:
- Use a wire brush and water jet to clean the surface of the wall.
- Patch any rough or hollow areas.
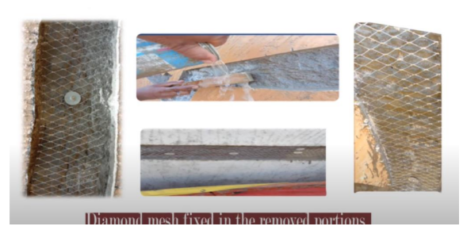
3. Installing Diamond Mesh and Applying Bonding Agent:
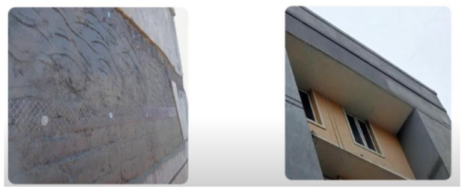
- Fix the diamond mesh to the repaired areas.
- Apply an SBR bonding agent to ensure a strong bond between the new and old surfaces.
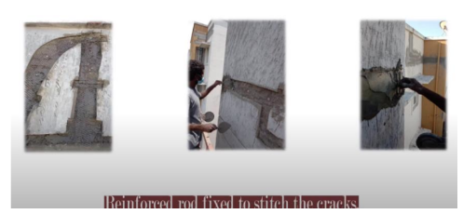
4. Steel Rod Fixing:
- Use steel rods to stitch the cracks together.
5. Plastering:
- Apply plaster in layers, not exceeding 15 millimeters each.
- Allow each layer to dry completely before applying the next.
- Ensure all hollow portions are packed before plastering.
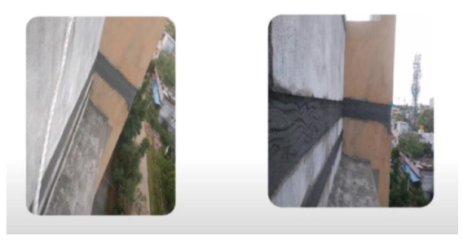
6. Curing:
- Apply a curing compound to the finished plaster work.
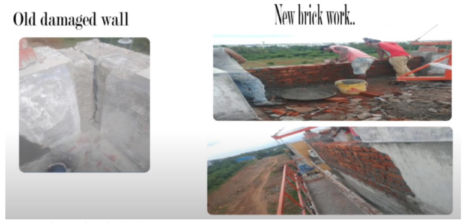
7. New Brick Wall (if necessary):
- In some cases, it may be necessary to remove damaged portions of the parapet wall and rebuild them with new bricks.
8. Border Work and Painting:
- Once the repairs are complete, you can add border work and paint the repaired area.
9. Safety:
- Throughout the repair process, safety is paramount.
- Use a suspended rope platform with debris sheets to prevent falling debris and protect windows.
- Regularly inspect the ropes, wires, and counterweights of the platform.
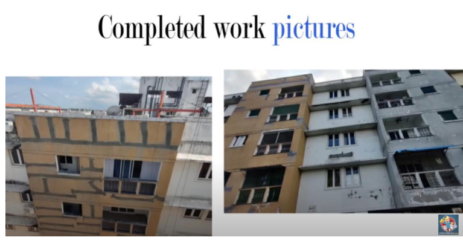
AFTER PAINTING :

Looking for a expert opinion? Book a free consultation call with us! Let the experts with more than 2 decades of experience handle the problem for you!
Whatsapp: +91 9840017078 0r
Mail us at: support@civilchemicals.com
Additional Tips
- Cracks up to two millimeters wide can be addressed before painting, as paint itself can accommodate cracks this size.
- When plastering, use a mix of sand, SBR latex, diamond mesh, and polypropylene fiber for optimal results.
Hope this blog post provides a helpful guide to repairing cracks in parapet walls. If you have any further questions, please approach us at support@civilchemicals.com or Whatsapp: +91-9840017078
